Background
In order to plug into the continuous delivery pipeline, one of our customers wanted us to implement an open source test automation solution from the ground up using Selenium WebDriver. The customer had an existing automation framework that they were moving away from and we were given 2 weeks to get everything up and going, while continuing to support the existing framework. Welcome to the world of Agile – but even with such a tight deadline, we viewed it as a challenge and approached it like a scrum team.
Choose a language
Since Selenium WebDriver supports multiple languages (Java, c#, Ruby, etc), the first step was to pick a language implementation to use. As most of the application development was done in Java, this became the language of choice for automation team to use. Having a single language simplified the build engineering processes too. KISS principle right? However, our team is comfortable working in whatever language the design team has already chosen. Flexibility is our middle name. Once the language was nailed down, the next selection of tools was easy.
Choose an IDE
For an IDE, the team went with Eclipse. Although we could have easily chose NetBeans or IntelliJIdea. Eclipse has some nice plugins for some of the tools we were using – TestNG, Git, Maven, etc.
Choose a dependency manager
For a robust test framework, you will need much more than the selenium APIs, and your dependency manager will be able to automatically download the necessary files your project needs and build the project. There were several dependency managers to choose from for the Java language – Maven, Gradle, Ant, etc. We went with Maven as it was the most robust tool to handle our dependencies, and hooked right into the rest of the tool set we were using.
Choose version control management
The customer chose Git as their source code management tool for all development projects, which worked perfectly for us because this was the tool we would have picked, if given the choice. Git is pretty popular for open source projects and there were lots of plugins for it in most of the tools we were using.

Choose your test framework
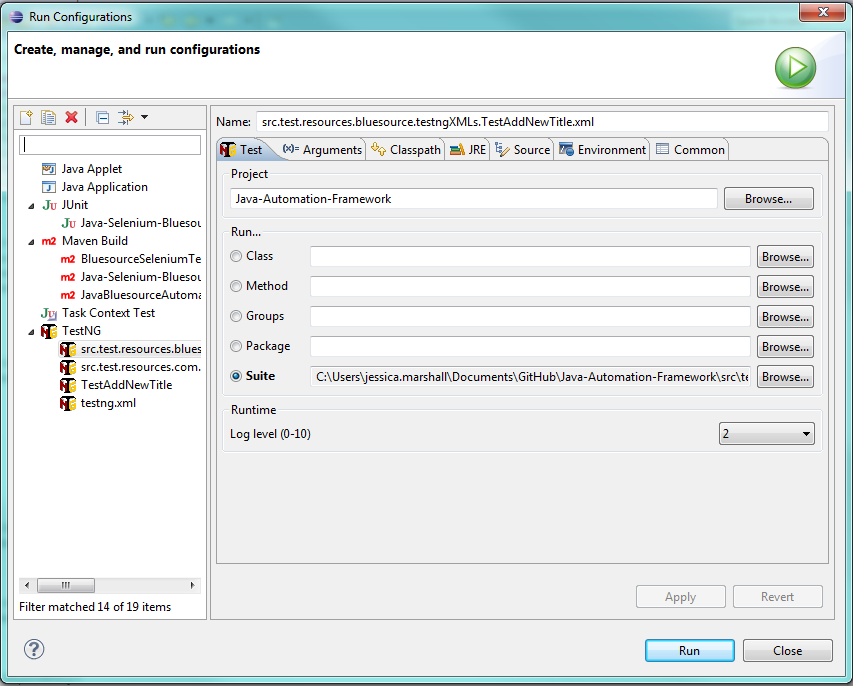
The next step was test frameworks. We wanted a way to organize and create tests, and there were some existing test frameworks to choose from. TestNG is the most common & popular for the java language. It is inspired from the JUnit framework with additional functionality – comprehensive reporting, support for data driven testing, support for parameters, strong execution model, parallelism, etc. TestNG has excellent documentation and specific support for integrating Eclipse and Maven.
Test execution & scalability
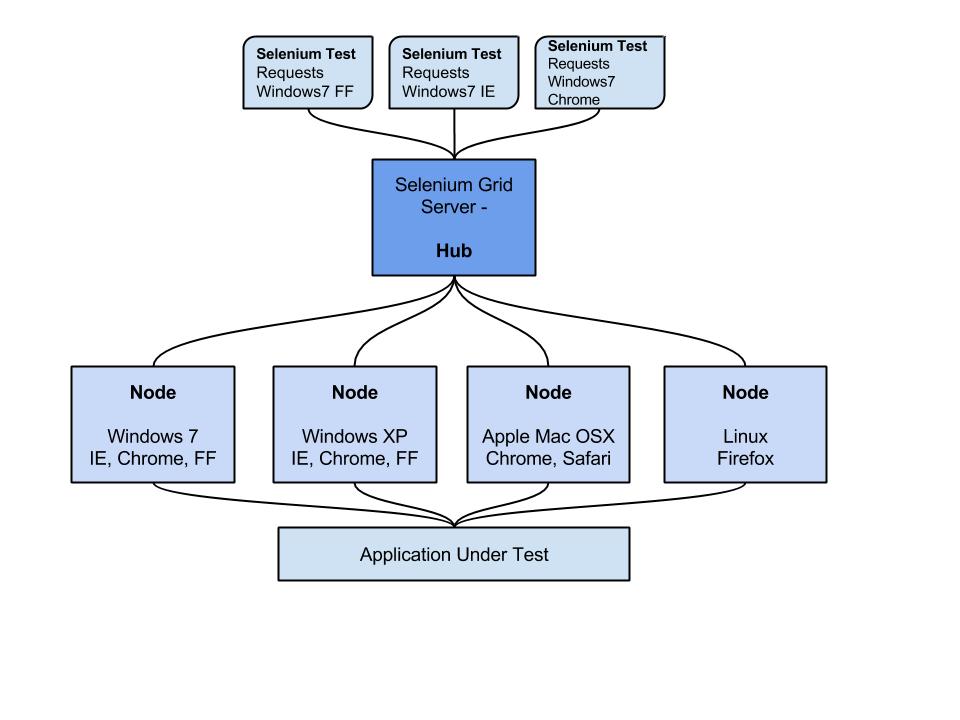
We used the Selenium Grid to handle test execution and scalability. It was pretty simple to setup and it took us only 1 day! We started out with a set of VMs, with one of the machines serving as the selenium hub and the rest of the machines as a node to the hub. Initially we started out with all the same operating systems on each VM and they all had each of the 3 browsers we supported – IE 8, Chrome, and Firefox. There are future plans to add to the grid with additional machines covering the different operating systems & different browser versions.
Hook into the Continuous Integration pipeline
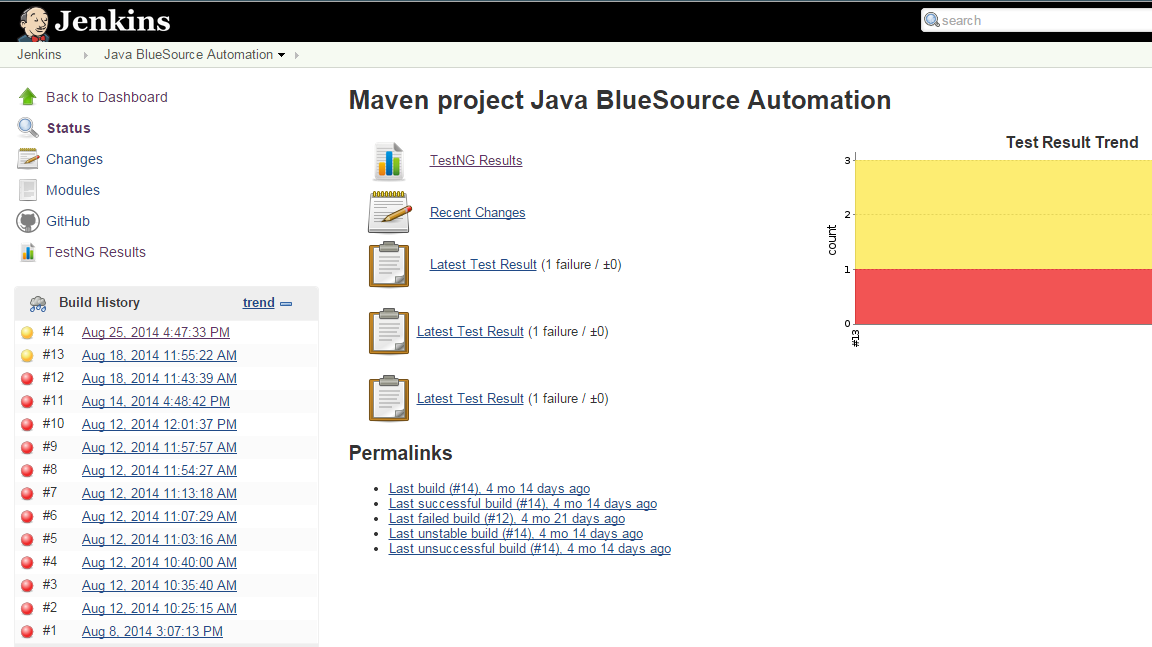
The customer picked Jenkins as the CI tool for all projects. Fortunately, Jenkins is a really easy tool to work with, with options to create Maven style jobs that hooked right into our source code on Git. We had 2 Jenkins servers to work with – our own test instance and the instance that the developers used. We used the test instance to play around with configurations, figure out best approaches, test out new plugins, and run automated tests that weren’t scheduled to handle requests from the QA folks. For the instance that was shared with the developers, our initial strategy was to have a job that was kicked off automatically during the build/deployment process. Our test suite was organized in the following way using TestNG group/suite functionality:
- Level 1 – Web Services tests – verify all the services we had automated were up and running.
- Level 2 – Smoke tests – high level tests
- Level 3 – Remainder of regression tests
Having our tests grouped this way provided options to do a staggered approach, starting first with the web services tests, to see it any of the services were down after the build. Then the smoke tests could get kicked off followed by the remainder of the regression tests. Jenkins keeps a build history where test results can be viewed. We also configured Jenkins to send out an email letting the team know when a build failed & included test run results.