HPE SiteScope is a great tool to use when there is a need to monitor your testing environment. Using variables within custom templates help to speed up the deployment process. HPE SiteScope template variables are place holders for monitor settings to be used within templates. In order to make templates more reusable, we need to add variables for the fields that can contain dynamic data values.
Example settings where this could be useful might be the frequency a monitor runs, the host name of the box to be monitored, and/or the limits you need to set when a monitor exceeds its expected range. By using the following steps, you can create templates that can be used to deploy templates across multiple devices.
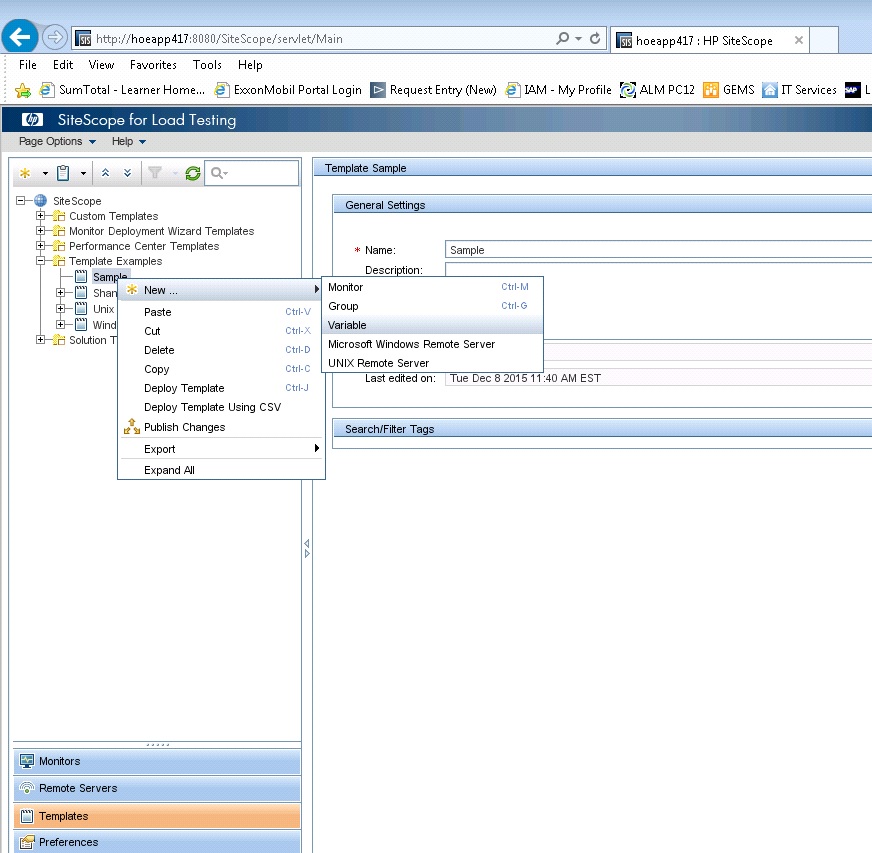
- Right click on the template you wish to add the variable to, select “New” and then select “Variable” from the drop-down list.
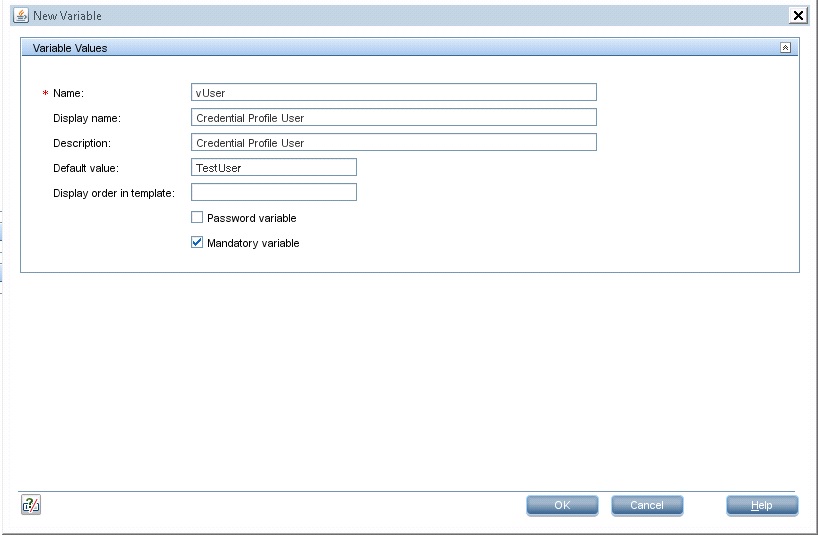
- Fill out the following and then select “OK”:
- Name – Variable name that will be displayed in the HPE SiteScope tree – REQUIRED VALUE
- Display name – Variable display name that will be displayed upon deployment
- Description – Short description of the variable; the description will be shown as the variable’s tooltip upon deployment
- Default value – The default value that will be shown to the user upon deployment; furthermore, in case the variable is not mandatory, this value will be used
- Display order in template – The display order (index) of the current variable upon deployment
- Password variable checkbox – Once set, both the default value and the value entered upon deployment are obscured
- Mandatory variable checkbox – Once set, the user will have to supply an actual value
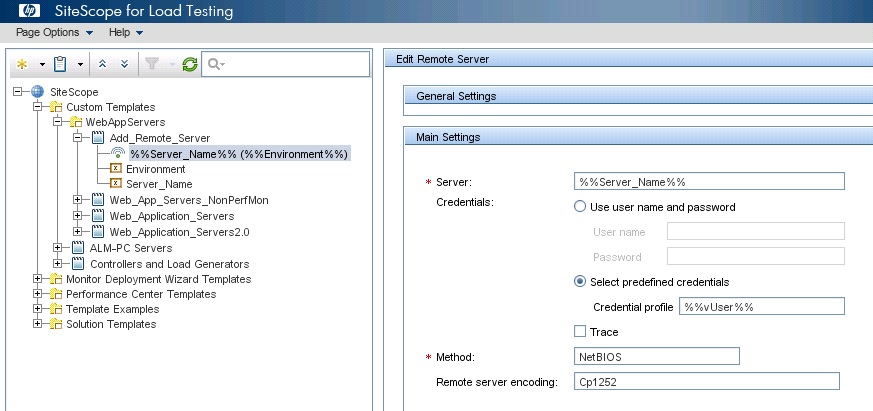
- Open the template and add the variable in the proper location. The variable will need to begin and end with “%%.” Example – %%Server_Name%%. Select “Save” after inserting the variables needed.
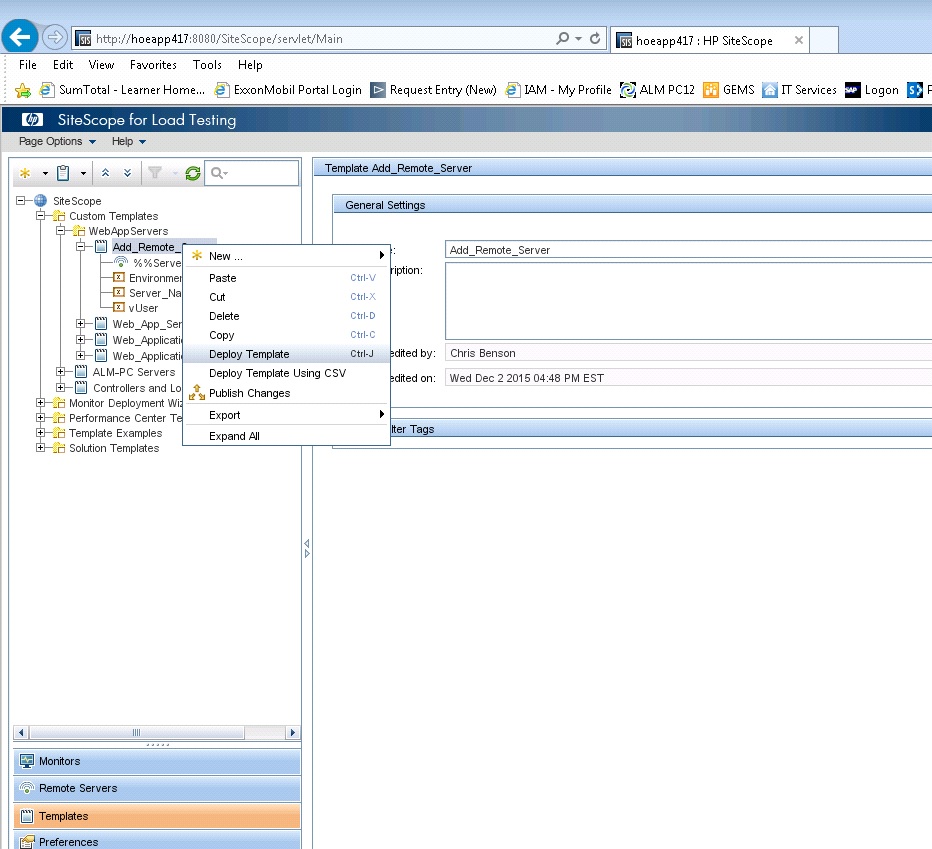
- Select the template to be updated. Right click and select “Deploy Template.”
- If prompted, select the location where the monitor will be stored.
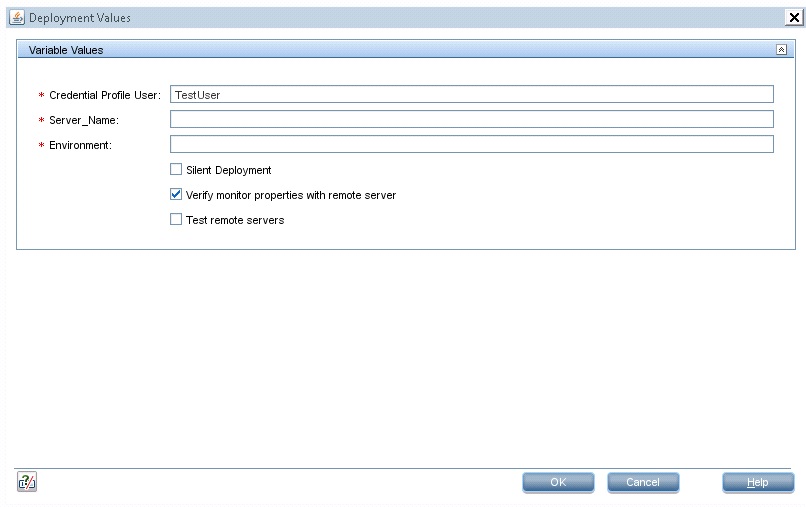
- Fill out the variable values that are required and select “OK.” Notice that TestUser is auto-populated by the variable created earlier and can be replaced if needed.
- A pop-up will follow with either a successful completion or an error. If unsuccessful, the variables values were not filled out correctly, or it may be that you are not able to connect properly to the device to be monitored. If successful, enjoy using your new custom template including variables.