Iterating through an XML response in an API test
This post will show how to iterate through an XML response that has an array of items. This will use several UFT nodes that most people do not use normally. The system will use the sample Fight API tool to assist in demonstrating how to iterate an array, make conditions based on iterations of array, and count responses. This test will ask for all flights from London and Paris on a date. Then the response will be iterated and count all the flights for one of the airlines (“AA”).
This will show following nodes:
Looping
Conditional
Addition
Continue
ReportMessage
1. Start a new API Test.
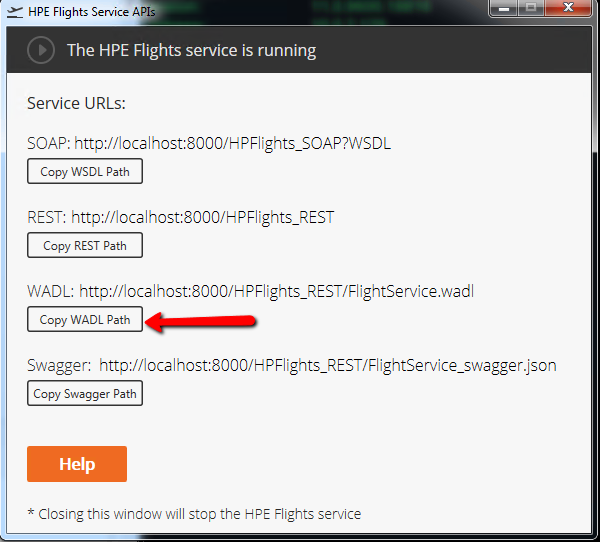
2. Start the Flights API (Start>HPE Software>HPE Unified Functional Testing>Sample Applications>Flight API) This will launch the HPE Flights Service APIs GUI
3. Copy the WADL Path
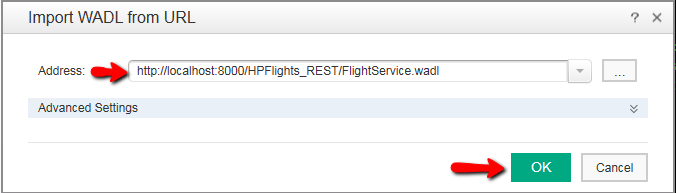
4. On UFT, go to Tools>Add REST Service>Import WADL from URL
5. Paste the WALD Path into the Address field and click OK
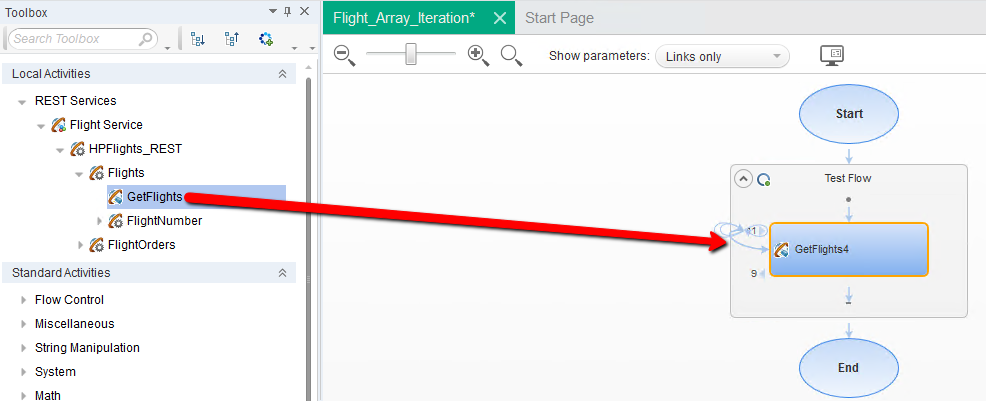
6. Go to Local Activities in the Toolbar and expand to Flight Service>HPFlights_REST>Flights>GetFlights
7. Drag GetFlights to the Test Flow canvas
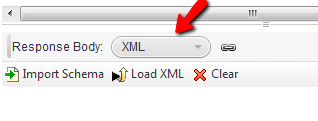
8. Select the GetFlights node. In the Properties pane, under Response Body, change the drop-down value to XML
9. Run the test. This will validate that the GetFlights works and will get all flights from London to Paris (default values).
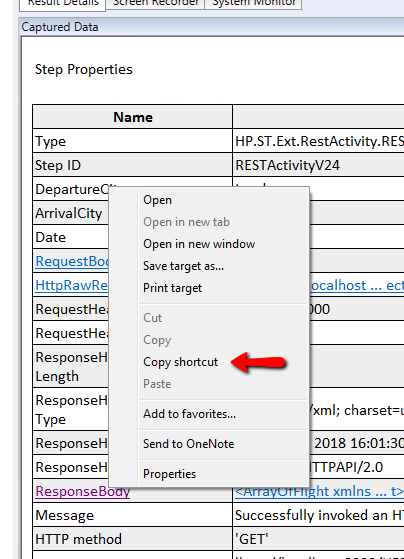
10. Open Run Results and expand the steps. Select the GetFlights node. In the “Captured Data” pane, find the ResponseBody and right-click the link. Select “Copy shortcut”. This is the path to the response xml file that contains all of the flights.
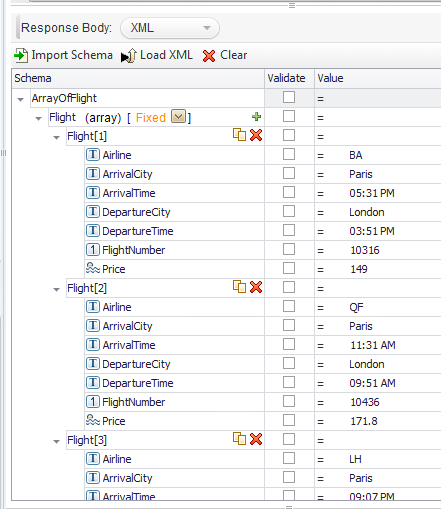
11. Back in UFT, ensure GetFlights node is still selected and in the Properties pane, choose the HTTP tab. Click Load XML and paste the shortcut you copied in the previous step into the File Name field and hit enter. This will import the XML that was created in the test run.
12. Back in the toolbar in the Standard Activities area, expand Flow Control and drag a Loop node under the GetFlights node

13. Select the Loop node. In the Propertied pane select the Input tab. The “’For’ Loop” should already be selected. Click the link icon next to the “Number of Iterations” field.
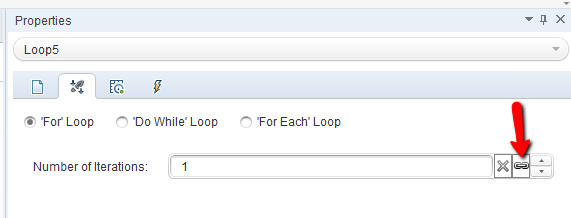
14. In the “Select Link Source for ‘NumberOfIterations’” pane under the “Select a Step:” section, select GetFlights. In the “Select a property:” section, click the HTTP tab. Select “Flight (array)“ and click OK.
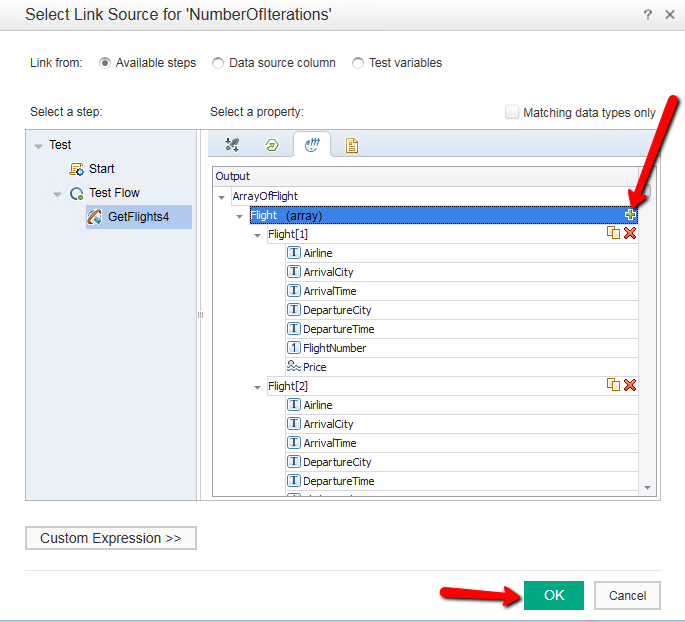
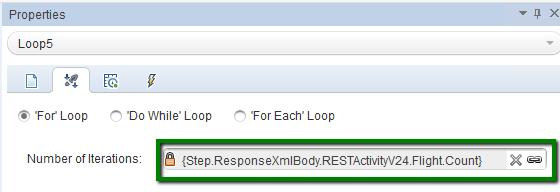
15. This adds the Count to the “Number of Iterations” field
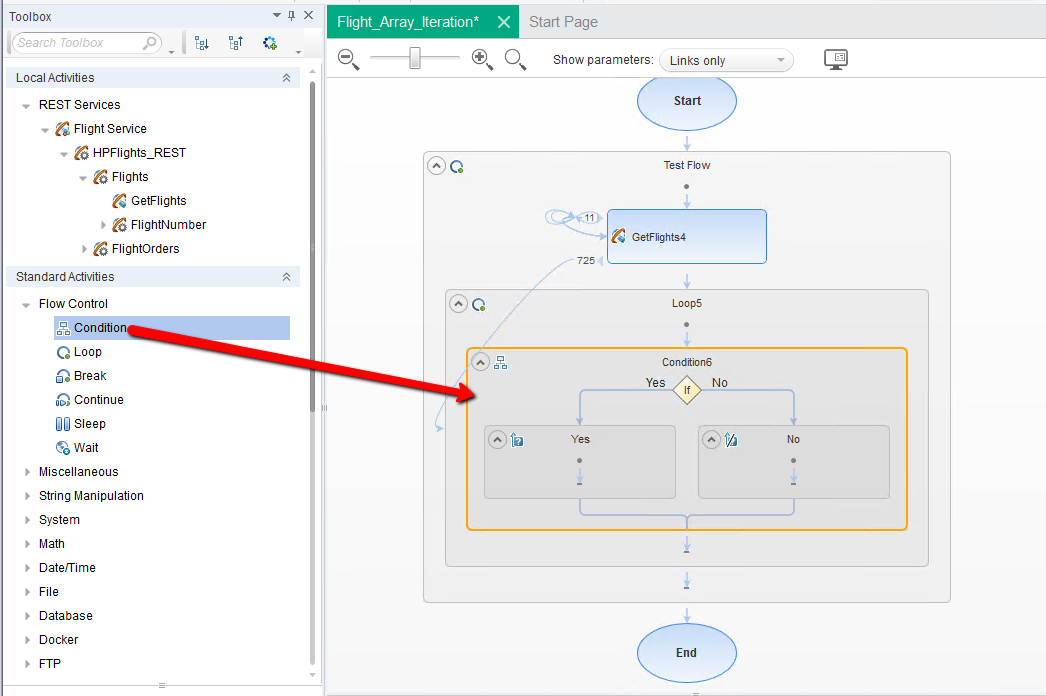
16. Now, from the toolbar in the Standard Activities area, drag a Condition into the Loop
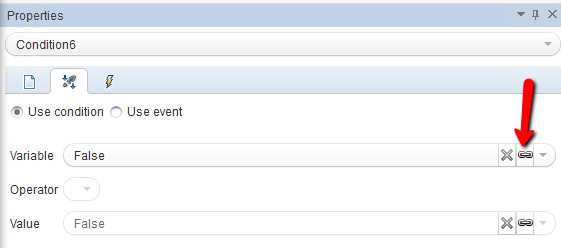
17. Select the Condition node. In the Propertied pane, select the Condition tab. Click the link icon next to “Variable”
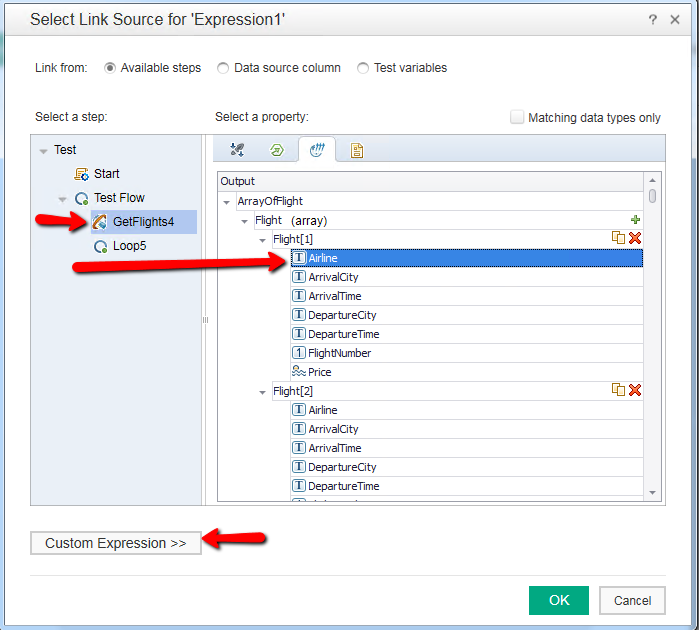
18. In the “Select Link Source for ‘Expression” pane under the “Select a Step:” section, select GetFlights. In the “Select a property:” section, click the HTTP tab. Select Airline, then click the Custom Expression button.
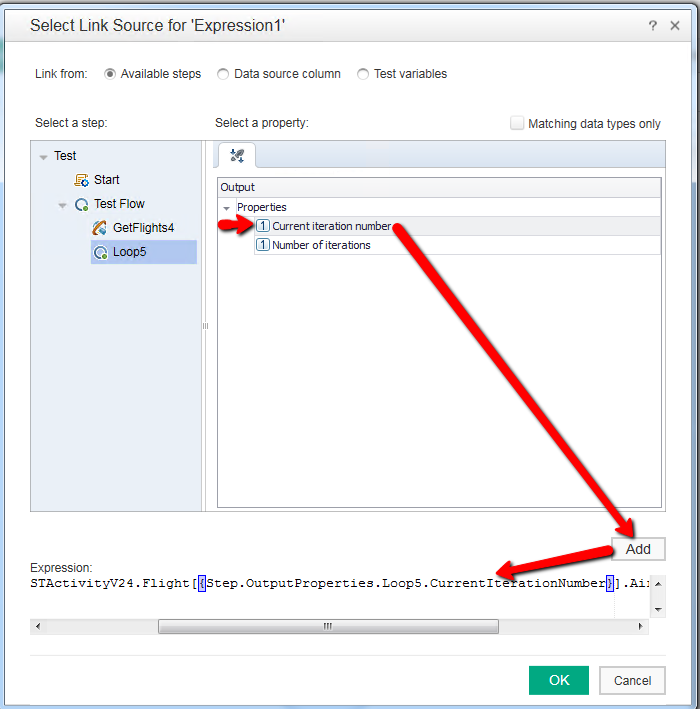
19. Click the Add button. Delete the “1” in the expression.

Leave the cursor there and back in the “Select a step:” section, click the Loop node. In the “Select a property:” section, click on “Current iteration number” then click the Add button again. This adds the current iteration number to the existing expression, so that the loop can use it. Click
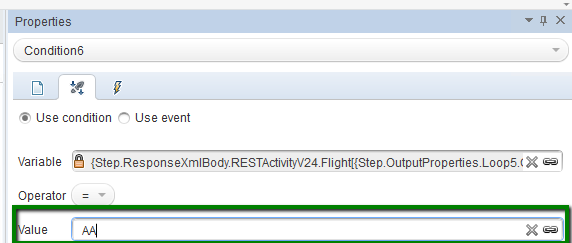
20. Back in the Loop Properties, on the Condition tab, enter a valid Airline in the Value box. For our example, we use AA
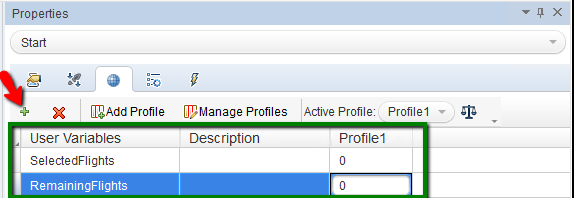
21. Click the Start Node. In the Properties pane, click the Test Variables icon. Add 2 variables. For this example, we added “SelectedFlights”. Put a 0 in the Profile field.
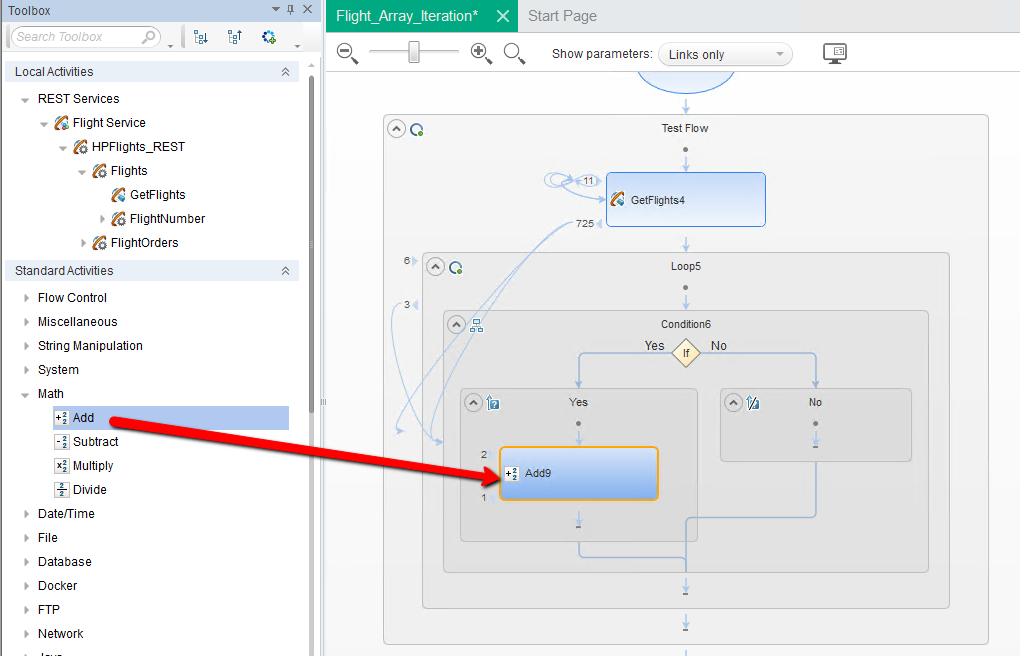
22. In the Toolbox, expand the Math node and drag the “Add” activity to the “Yes” node in the condition.
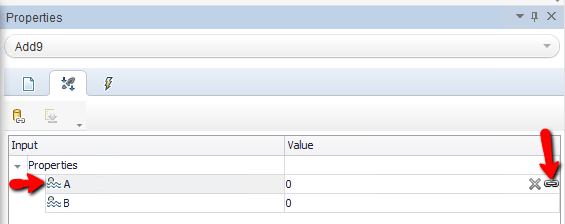
23. Select the Add node. In the Properties pane, click the “Input/Checkpoints” tab. Select the “A” value field and click the Link icon.
24. On the “Select Link Source for ‘A’” screen, click the “Test variables” radio button. Click on “SelectedFlights” under “Select test variable” and then click the OK button.
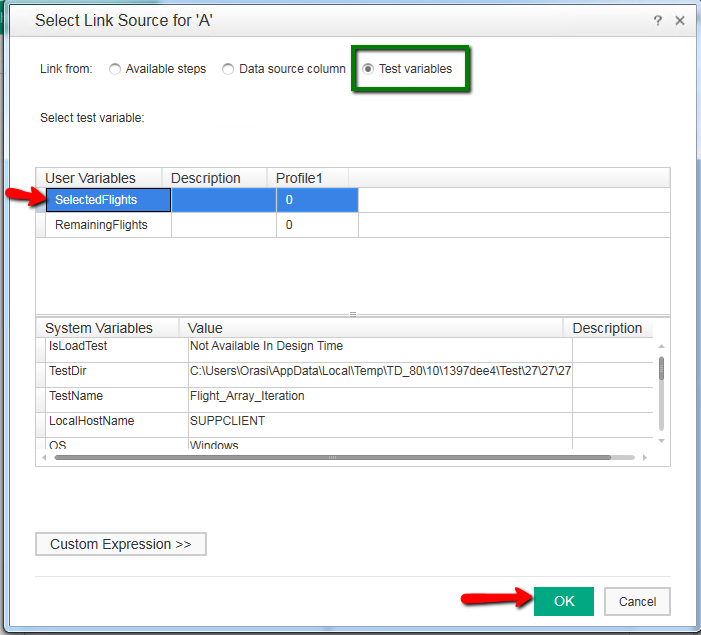
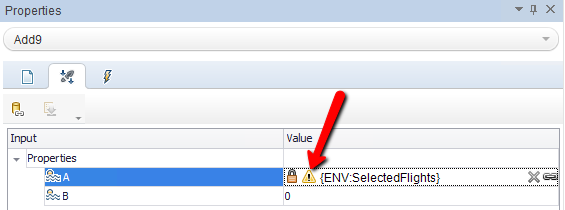
25. Note, at this point, the SelectedFlights will be entered into the “A” Property. There will be a yellow triangle warning icon indicating that you are trying to inject a string variable type into a numeric variable type. This is OK, UFT will convert it.
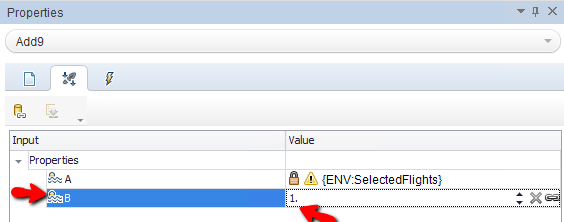
26. Go the value for ‘B’ and put a 1.
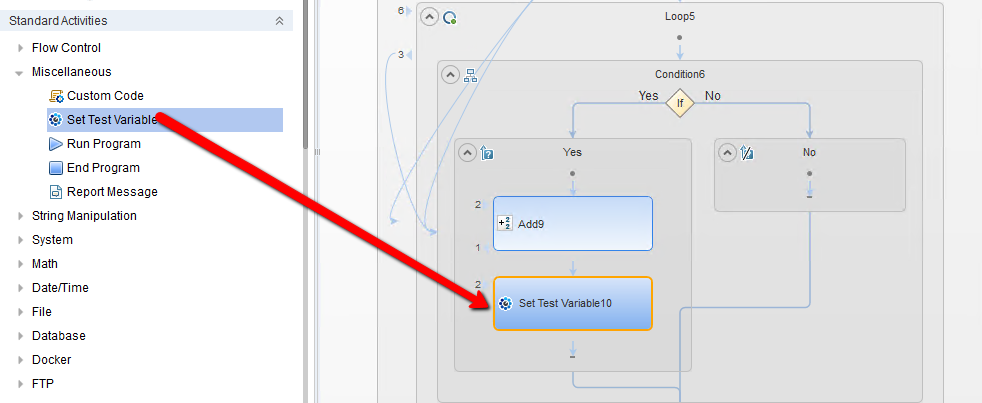
27. Back in the Toolbox, under the Miscellaneous node, drag “Set Test Variable” below the Add node.
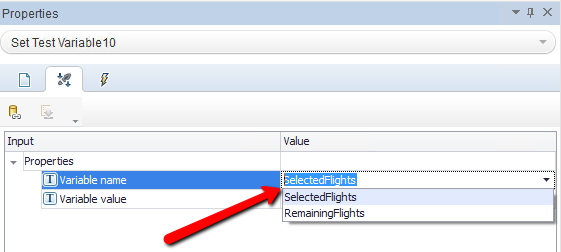
28. Select the “Set Test Variable” node. In the Properties pane, click the “Input/Checkpoints” tab. In the “Variable name” value field, use the pull-down to select the “SelectedFlights” variable you created in the previous steps.
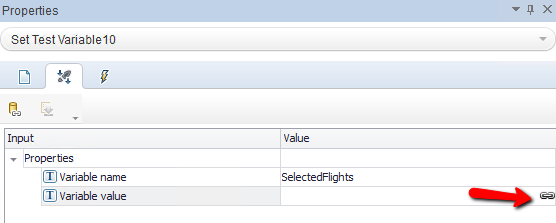
29. In the “Variable value” value field, click the link icon.
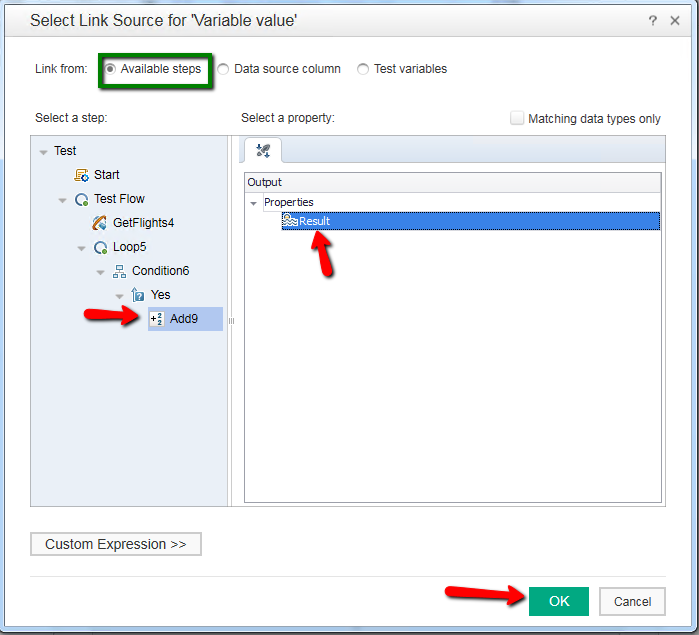
30. On the “Select Link Source for ‘Variable value’” screen, select the “Available steps” radio button. In the “Select a step:” section, select the “Add” node. In the “Select a property:” section click “Result”. Click the OK Button.
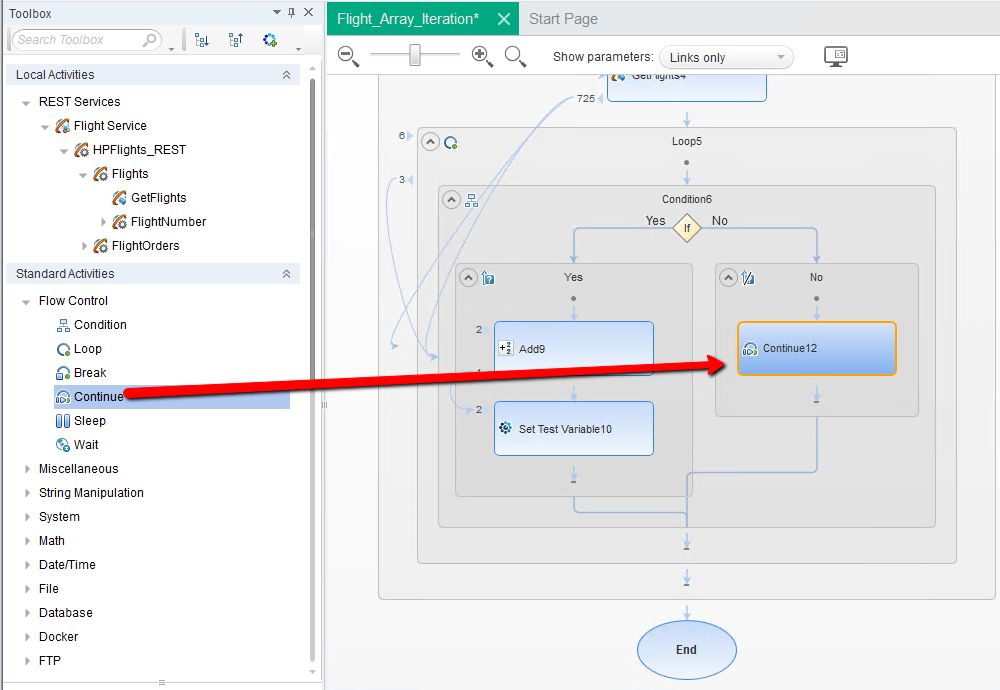
31. In the Toolbox under the “Flow Control” node, drag “Continue” into the “No” node.
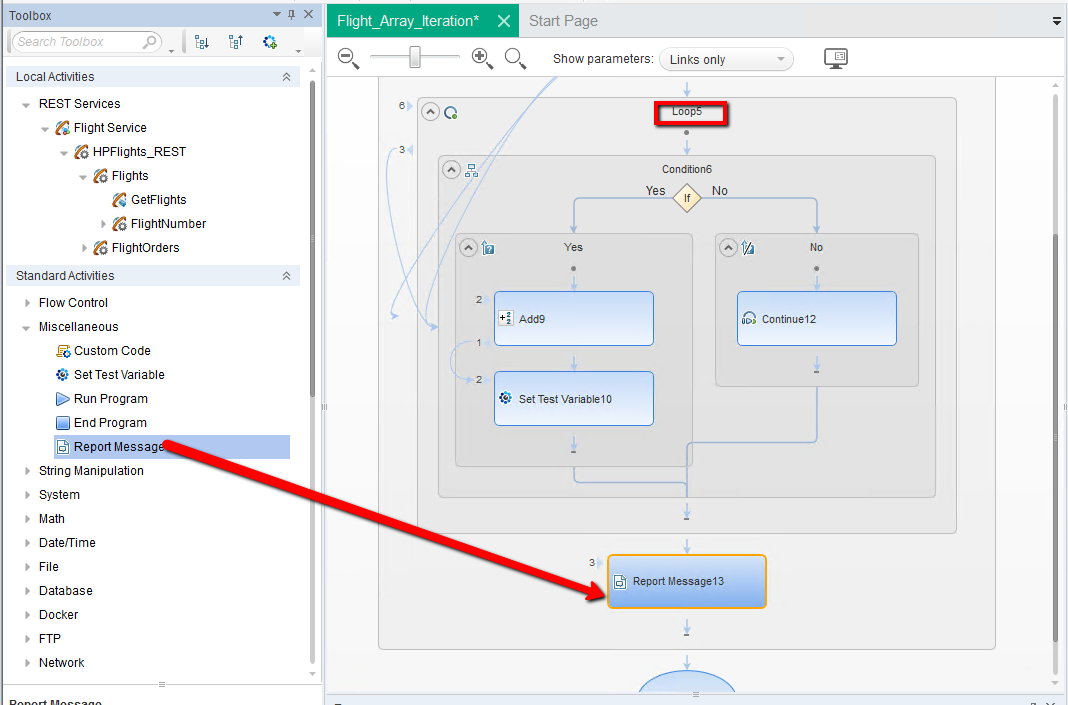
32. In the Toolbox under the “Miscellaneous” node, drag “Report Message” to BELOW the Loop node:
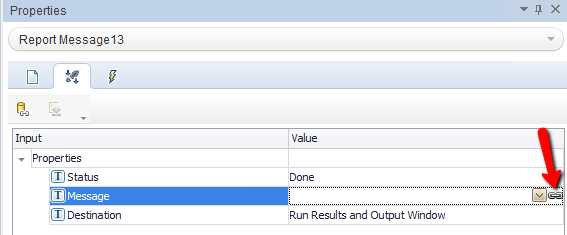
33. Select the “Report Message” node. In the Properties pane, select the “Input/Checkpoints” tab. Click the Value field for the Message property and click the Link icon.
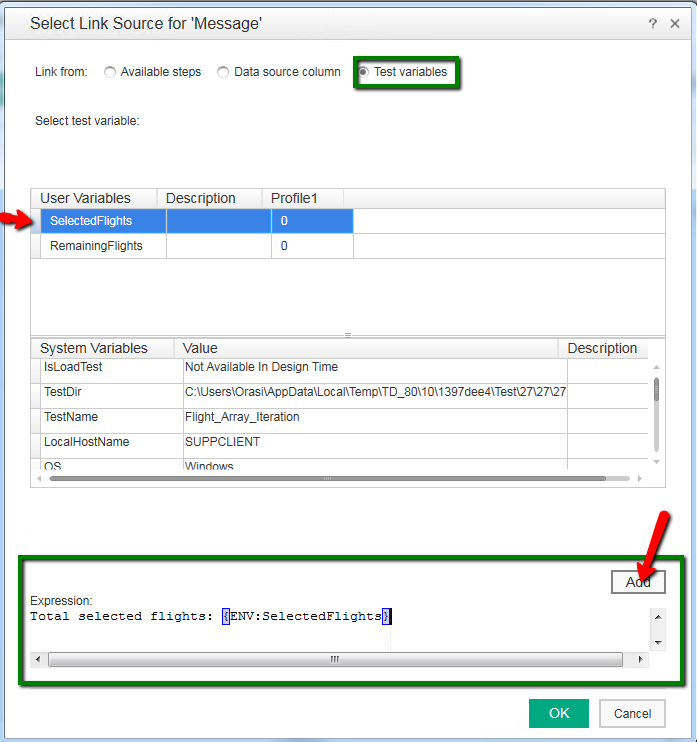
34. In the “Select Link Source for ‘Message’”, select the “Test variables” radio button. Click the “Custom Expression” button. Type in the edit box a message “Total selected flights: “ (include a space at the end). Select the “SelectedFlights” variable and click the Add button.
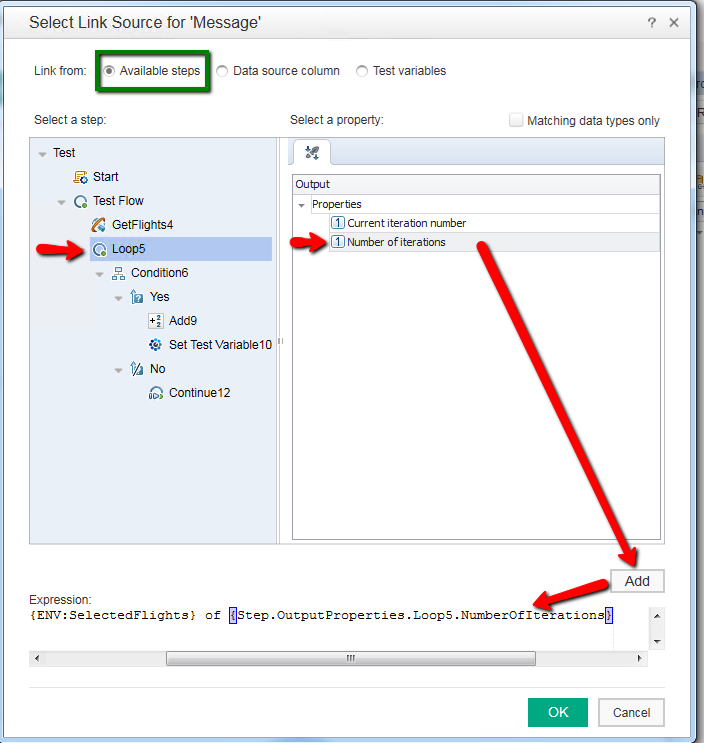
35. After “Total selected flights: {ENV:SelectedFlights}”, type (including a space before and after)
“ of “
Click the “Available steps” radio button. In the “Select a step:” section, click the Loop node. In the “Select a property:” section, choose “Number of iterations” and click the add button.
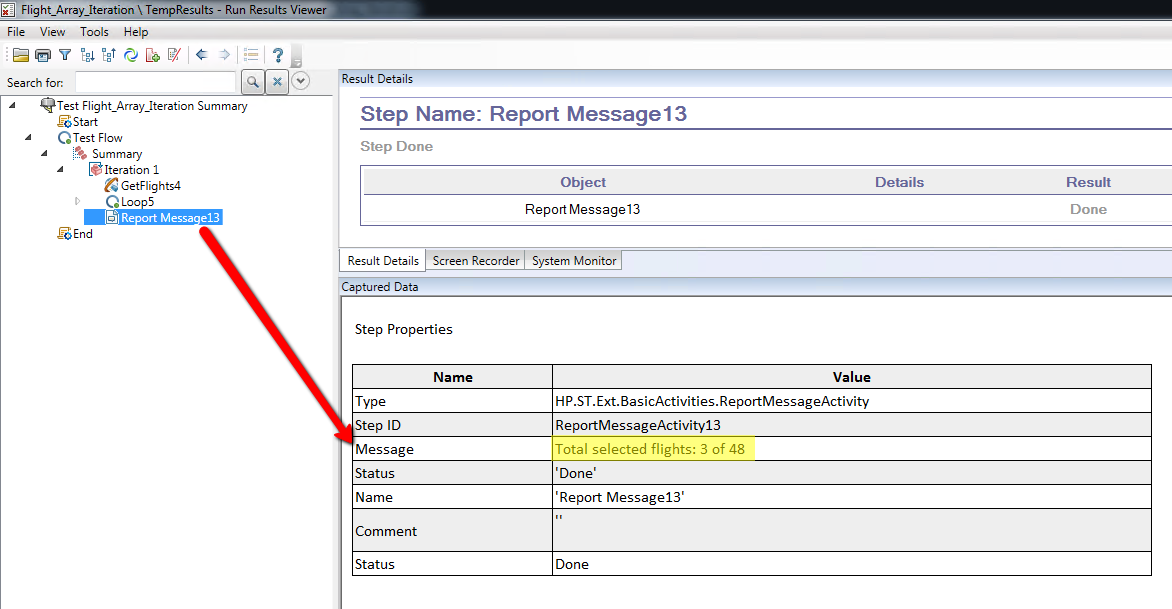
36. Run the test.
37. In the Results viewer, expand to “Report Message” and view the results: